

 English
 русский
Installation Guide: Correct Installation Methods for Expansion Anchors & Plugs
 2025.09.15
 Industry news
1. Introduction
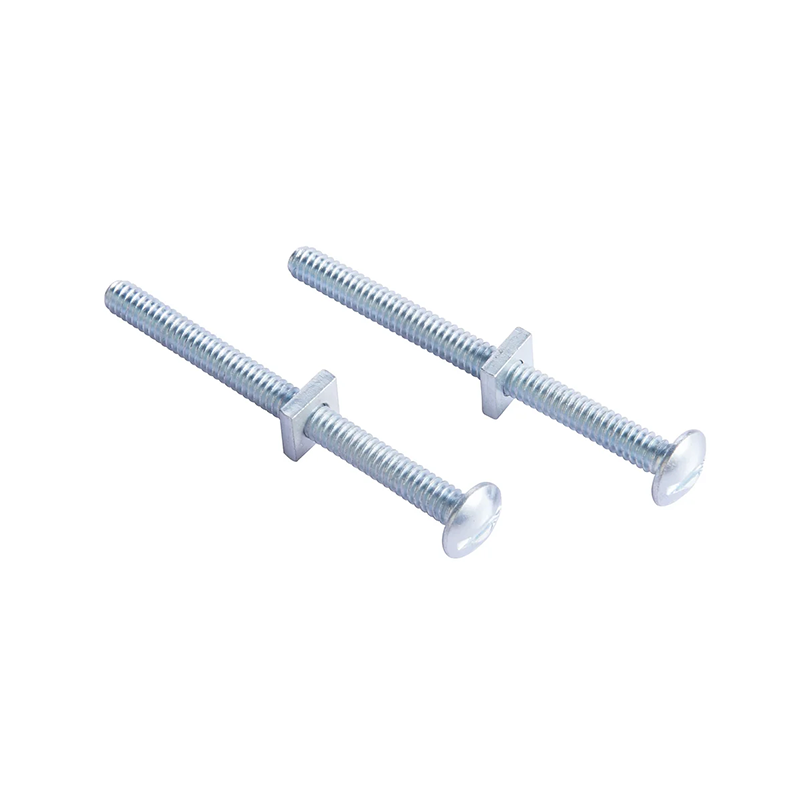
Expansion anchors and plugs are commonly used fasteners to securely fasten screws to various wall materials, such as concrete, brick, and gypsum board. They expand within the hole, creating friction and maintaining a secure hold.
Example Applications:
Home Improvement: Hanging shelves, bathroom cabinets, and TV stands
Industrial Applications: Securing pipes and heavy equipment
Construction: Supporting structural components and installing curtain walls
Proper installation of expansion anchors and plugs is crucial. Improper installation can lead to loosening of the screws, insufficient load-bearing capacity, and even safety hazards.
2. Preparation
Choosing the Right Anchor/Expansion Plug
Before choosing, consider the wall material, load requirements, and environmental conditions:
Material Options:
Plastic/Nylon Expansion Plugs: Suitable for light-duty fixings, such as hanging pictures and light shelves.
Metal Expansion Bolts (Steel/Galvanized): Suitable for medium to heavy-duty fixings, such as air conditioner brackets and heavy-duty racking.
Type Options:
Lightweight: Low load capacity, suitable for lightweight items.
Mediumweight: Moderate load capacity, suitable for general home decoration.
Heavyweight: High load capacity, suitable for industrial and construction projects.
Wall Compatibility:
Concrete: Use metal expansion bolts or heavy-duty plastic expansion plugs.
Solid Brick: Use standard plastic expansion plugs or metal expansion bolts.
Hollow Brick/Gypsum Board: Use expansion bolts. Winged expansion plugs or chemical anchors
Tool Preparation
Ensuring you have all the tools you need will improve installation efficiency and accuracy:
Electric drill and drill bit: The drill bit diameter should be slightly smaller than the expansion plug to ensure a tight fit.
Screwdriver or electric screwdriver: Used to drive the screws.
Hammer: Used to tap the expansion plug into the hole.
Measuring tools: Tape measure, level, and marker to ensure the exact anchor point.
3. Construction Steps
Marking the location
Use a tape measure to measure the anchor point and ensure proper spacing from other structures or objects.
Mark the drill point with a pencil or marker.
Use a level to check the markings for levelness, especially when hanging multiple items.
Drilling
Select a drill bit diameter that matches the expansion plug.
Drill to a depth slightly greater than the expansion plug length to ensure complete insertion.
Drill to ensure the anchor point is perfectly aligned. Hold the drill perpendicular to the wall to avoid slanting the hole.
After drilling, clean the hole with dust, either by blowing or vacuuming.
Tip: Cleaning the hole can significantly improve the retention of the expansion plug.
Inserting the expansion plug:
Gently insert the expansion plug into the hole.
For tight-fitting expansion plugs, tap gently with a hammer to ensure full insertion.
Avoid excessive force during insertion to prevent damage.
Installing the screw/bolt:
Push the screw through the object to be secured and align it with the expansion plug.
Use a screwdriver or electric screwdriver to tighten the screw.
As you tighten the screw, the expansion plug will expand in the hole, creating friction to secure the screw.
Note: Tighten the screw until it is firmly in place. Do not overtighten to prevent deformation or breakage of the expansion plug.
4. Precautions
Wall Material Compatibility: Hollow Brick or Stone Drywall requires specialized expansion plugs.
Drilling depth: slightly greater than the expansion plug length to ensure full expansion.
Clean the hole: Dust reduces friction and affects bearing capacity.
Tighten the screws: Avoid overtightening, which may damage the expansion plug.
Environmental factors: Use rust-resistant materials for outdoor or humid environments.
5. Common Problems and Solutions:
Expansion plug rotation
Cause: Hole diameter too large or dust not removed from the hole.
Solution: Use slightly larger diameter screws or use epoxy to secure.
Loose screws
Cause: Expansion plug not fully expanded or not tightened properly.
Solution: Reinstall and ensure full expansion.
Insufficient bearing capacity
Cause: Improper selection or low wall bearing capacity.
Solution: Replace with higher-strength expansion bolts or use chemical anchors.


From concept to production, we cah create the products you want.
 Products
- · SCREWS
- · HEXAGONAL NUTS
- · THREADED BOLTS
- · EXPANSION ANCHORS & PLUGS
- · WIRE SCREW HOOKS
- · SCREW WASHERS
Contact Information Tel: 86-574-62101087
 E-mail: [email protected]
- E-mail: [email protected]
 Add: Xiaocao 'e Binhai Industrial Park, Yuyao, Zhejiang, China
Copyright 2024 Yuyao Cili Machinery Co., Ltd. All Rights Reserved.
 Custom Drilling Screws Manufacturers
Custom Drilling Screws Manufacturers