

 English
 русский
What Are the Common Mistakes to Avoid When Using Self-Drilling Screws?
 2025.11.17
 Industry news
1. Not Choosing the Right Size Screw
Understanding Screw Sizing
One of the most common mistakes people make when using self-drilling screws is choosing the wrong screw size. If the screw is too short, it won’t penetrate the material properly, resulting in a weak connection. On the other hand, if the screw is too long, it could pierce through the other side of the material, causing damage or failure of the joint. It’s important to understand how to choose the right screw size to avoid these problems.
Factors to Consider When Choosing Screw Size
When selecting the size of a self-drilling screw, there are several factors you should take into account:
-
Material Thickness: The thickness of the material you’re drilling into directly impacts the screw length. For thin materials, a shorter screw is appropriate, while thicker materials require longer screws to ensure a strong bond.
-
Screw Gauge: The diameter of the screw is equally important. A screw that’s too thin might not hold the material securely, while one that’s too thick could cause the material to split or crack. Make sure you use the right gauge for your application.
-
Depth of the Hole: A screw that is too long for the material will create a weak joint, while a screw that is too short won’t penetrate deep enough for a strong hold.
How to Measure the Screw Size Correctly
To determine the appropriate screw size for your project, measure both the thickness of the material and the length required for proper insertion. You can often refer to the manufacturer’s recommendations, as many screws come with a guide to help users pick the correct size based on the material.
Tip: When choosing the screw size, ensure that the screw’s threading will anchor securely into the material for maximum grip. Avoid relying solely on the screw length—its gauge is just as important.
2. Using the Wrong Type of Self-Drilling Screw
Types of Self-Drilling Screws
Self-drilling screws are not one-size-fits-all. They are designed for specific materials and applications, and using the wrong type can result in inefficient or even failed results. The key to a successful installation is selecting the correct screw type for your material.
Key Types of Self-Drilling Screws
-
Metal Screws: These screws have a hardened tip designed to drill through metal materials. They usually have sharp threads that provide a secure grip in metal substrates. Make sure the screw is rated for the thickness and type of metal you are working with.
-
Wood Screws: While many self-drilling screws can be used for wood, they are specifically designed with a different point that ensures a secure grip in softer materials like timber. These screws often have coarser threads compared to metal screws.
-
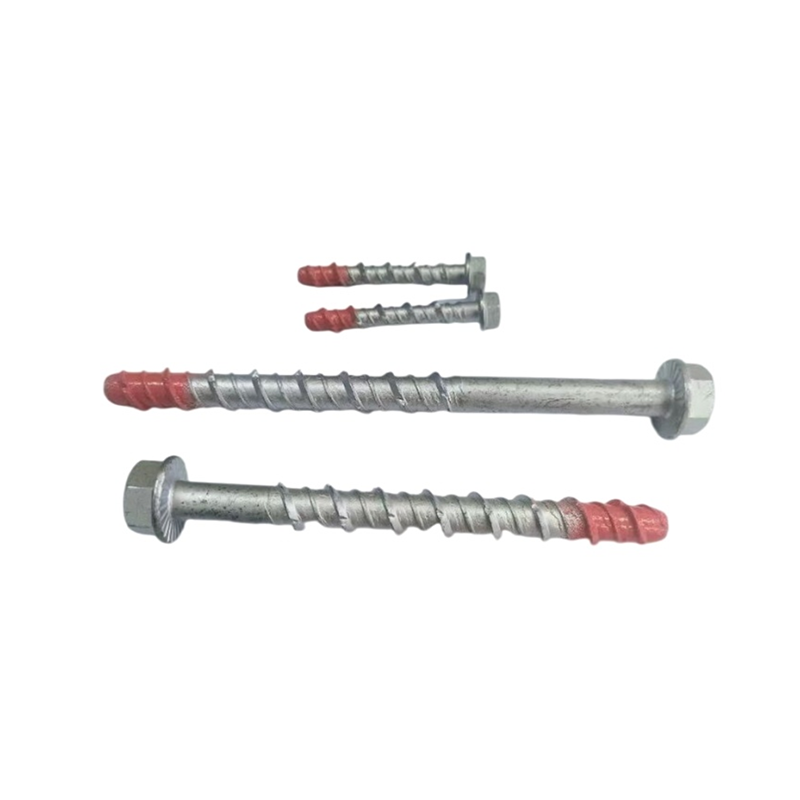
Concrete Screws: These screws are designed specifically for use in concrete or masonry materials. They feature a special tip that allows them to drill directly into concrete, and they often require a specialized drill bit to complete the job.
Choosing the Right Screw for Your Material
If you are drilling into thin metal, use a screw with a sharp tip to help it cut through easily. If the material is thicker or denser, a screw with a blunt tip or a longer thread may be necessary to ensure maximum grip. For wood, you’ll want a screw designed specifically for that material, as it will have threads that prevent splitting and improve holding power.
3. Not Using a Pilot Hole in Some Materials
The Role of a Pilot Hole
Although self-drilling screws are designed to eliminate the need for a pilot hole in many situations, there are times when drilling a small hole first will make the installation process smoother and more precise. In harder materials, or when working with thicker materials, a pilot hole can guide the screw in properly and prevent the material from cracking or splitting.
When to Use a Pilot Hole
-
Hardwood: If you’re drilling into hardwood, such as oak or maple, consider using a pilot hole to make the installation easier. This will reduce the strain on the screw and allow for a more secure connection.
-
Thick Metals: When working with thick steel or aluminum, a small pilot hole ensures the screw enters the material cleanly without putting too much force on the drill or the screw.
-
Masonry: If you are using self-drilling screws in masonry or concrete, a pilot hole may be necessary to help the screw penetrate the material more easily.
How to Drill a Pilot Hole
To drill a pilot hole, simply choose a drill bit that is slightly smaller in diameter than the screw’s shaft. This will give the screw enough space to bite into the material while providing a guide for precise installation.
4. Over-Tightening the Screws
Why Over-Tightening is a Problem
It’s easy to think that tightening a screw as much as possible will create a stronger hold, but this can actually have the opposite effect. Over-tightening self-drilling screws can strip the threads, break the screw, or cause the material to crack. It’s crucial to stop tightening once the screw is fully seated and secure.
The Consequences of Over-Tightening
-
Stripping Threads: Over-tightening can strip the threads of the screw, preventing it from creating a secure grip in the material.
-
Material Damage: Applying too much force can cause the material you’re working with to crack or deform, weakening the joint and potentially ruining your project.
How to Prevent Over-Tightening
The best way to prevent over-tightening is by using a torque-controlled drill or a screwdriver with adjustable settings. These tools will allow you to set the maximum torque to avoid excessive tightening. Additionally, always check the screw’s seating to ensure it’s flush with the surface, without excessive pressure.
5. Using the Wrong Drill Speed
The Importance of Drill Speed
The speed at which you drill is crucial to the success of self-drilling screws. If the drill is too fast, it can cause excessive heat buildup, damaging the screw or the material. On the other hand, if the drill speed is too slow, it can make it difficult for the screw to properly penetrate the material.
Ideal Drill Speed for Self-Drilling Screws
For soft materials like wood, a faster drill speed may be acceptable. However, for harder materials like metal, a slower drill speed is often better. This helps control the heat and provides better torque.
How to Adjust Drill Speed
Most modern drills have adjustable speed settings. To drill into soft wood or plastic, use a high speed, while a lower speed is recommended for metal, masonry, or other tougher materials. This adjustment helps you maintain control over the screw insertion process, preventing damage and ensuring a better result.
6. Failing to Lubricate the Screws (for Metal)
The Need for Lubrication
Lubricating self-drilling screws is often overlooked, but it can greatly enhance the performance and longevity of your screws, especially when drilling into metal. Without lubrication, the friction between the screw and the material can generate excessive heat, which can wear out the screw and cause it to fail prematurely.
When to Use Lubrication
-
Metal-to-Metal: When driving screws into metal, especially harder metals, lubrication can reduce friction, make driving easier, and help prevent premature wear.
-
Thick Materials: If you’re working with particularly thick or tough materials, using a lubricant can help the screw maintain its integrity while cutting through.
How to Lubricate Self-Drilling Screws
You can use a cutting oil, such as WD-40 or motor oil, to lubricate your screws. Simply apply a small amount of lubricant to the tip of the screw before driving it in. This reduces heat buildup and allows the screw to cut through more smoothly.
7. Not Considering the Material Thickness
Why Material Thickness Matters
The thickness of the material you’re working with is a critical factor in determining the right screw to use. If the material is too thick, the screw might not be able to penetrate deeply enough to form a secure connection. If the material is too thin, the screw could go through it entirely, weakening the joint.
How to Adjust for Material Thickness
Make sure the screw is long enough to penetrate the material completely without sticking out the other side. Additionally, check that the screw gauge is appropriate for the material thickness—thicker materials often require a larger gauge to ensure a secure hold.
8. Using the Wrong Driver Bit
Matching the Screw Head to the Driver Bit
Using the wrong driver bit can cause the screw to slip or even strip the head. It’s essential to ensure that the driver bit fits the screw head securely for proper driving.
Types of Driver Bits
-
Phillips: Ideal for screws with a cross-shaped indent.
-
Flathead: Suitable for screws with a straight, flat indentation.
-
Torx: A star-shaped pattern, often used for high-torque applications.
Make sure to use the corresponding driver bit for the screw type to avoid damaging the screw or the material.


From concept to production, we cah create the products you want.
 Products
- · SCREWS
- · HEXAGONAL NUTS
- · THREADED BOLTS
- · EXPANSION ANCHORS & PLUGS
- · WIRE SCREW HOOKS
- · SCREW WASHERS
Contact Information Tel: 86-574-62101087
 E-mail: [email protected]
- E-mail: [email protected]
 Add: Xiaocao 'e Binhai Industrial Park, Yuyao, Zhejiang, China
Copyright 2024 Yuyao Cili Machinery Co., Ltd. All Rights Reserved.
 Custom Drilling Screws Manufacturers
Custom Drilling Screws Manufacturers